
Hey, have you ever imagined turning your WordPress website into a mobile app? With a Flutter app for WordPress, you can transform your stylish, informative, and SEO-optimized site into a stunning application that performs easily on both iOS and Android devices.
However, there’s a problem – your site is not yet mobile-optimized. You want your materials to look great on mobile devices as well as tablets, not just on desktop computers.
Flutter is the key to solving this. Flutter, which is Google’s varied toolkit, can assist you in developing an amazing application that can smoothly operate on either iOS or Android platforms.
Let’s take five simple steps toward converting your WordPress site into a Flutter app that enhances your online presence.
Why Use Flutter for Your WordPress App?
Let’s explore why Flutter is a good option for changing your WordPress site into a mobile app Before we go into the steps. Google’s open-source Flutter system for creating user-friendly software has several great benefits.
Single CodeBase for Both Platforms:
With Flutter, you can create your app’s code once and have it run on smartphones with both Android and iOS. So you no longer have to create separate versions for every operating system, you’ll save time and work.
Rapid Progression through Hot Reload:
Flutter’s scorching reload preference aids you to see fixes in a split second, without stopping the processor. It makes creation speedier and permits prompt inscription for retaining the text’s look as well as convenience simply.
High Performance:
The native code of Flutter’s Dart programming language guarantees high performance and fluid user experiences. It possesses a custom widget and rendering engine that provides a seamless and responsive interface, which feels native on either iOS or Android devices.
Different kinds of Widgets:
Flutter provides a great collection of pre-designed widgets that imitate the native elements for iOS and Android. With the help of these, it is easy to come up with attractive and highly functional interfaces that retain uniformity throughout the platforms.
Strong Society and Help:
Flutter has an active community and many papers. You will have many resources, guides, and also help on your way, whether you are new to the profession or not.
With these advantages in mind, it is evident why Flutter is a great choice for developing a WordPress app. Now come to the procedure itself!
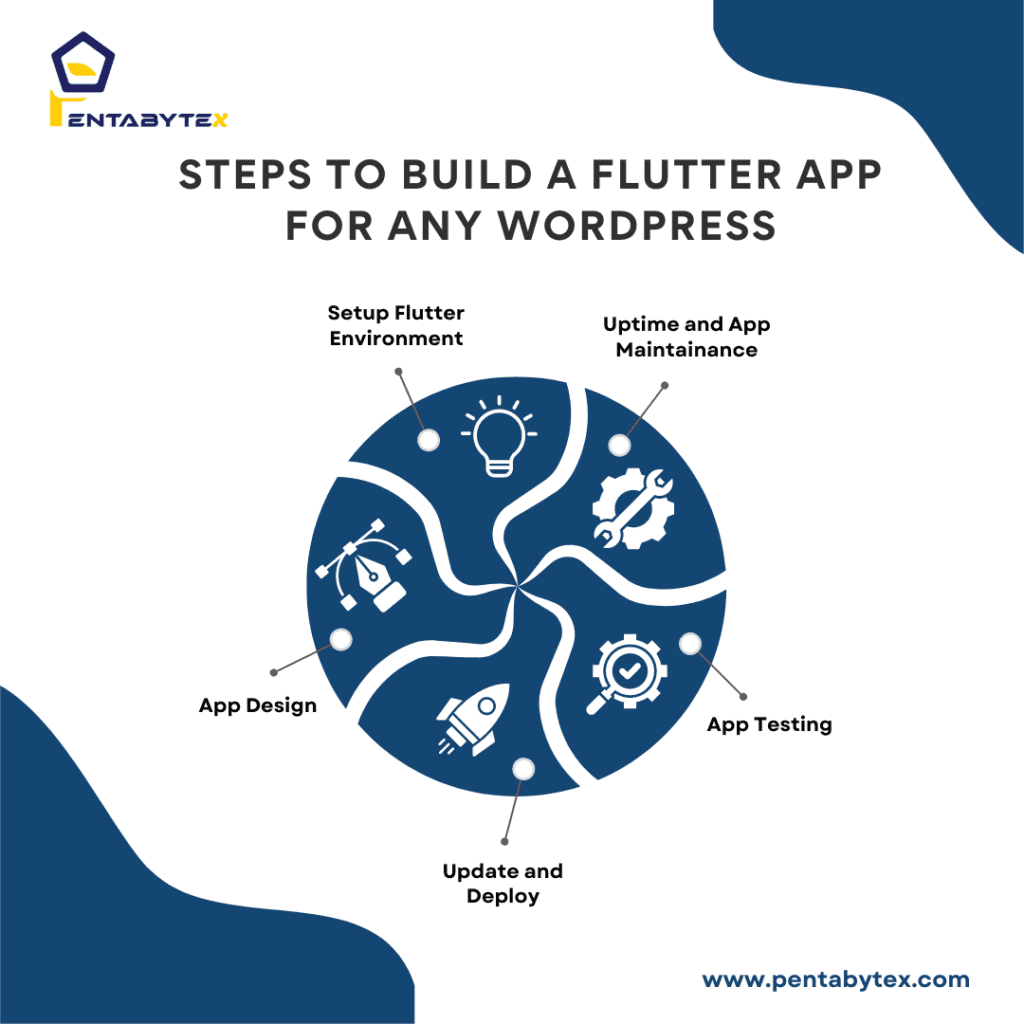
STEPS TO BUILD a Flutter APP For Any WordPress
Step 1: Preparing Your WordPress Website
We start from your website. But before jumping into creating applications, you should understand the role that WordPress will have in Flutter apps. Because It forms the foundation of your whole online persona
Preparing: WP REST API Configuration
Enable WP REST API:
This robust API serves as a link between your WordPress website and the Flutter application you are building.
It allows your application to obtain information from your website, just like a bridge connects two pieces of land with different information.
Add Key Plugins:
Security can be enhanced by plug-ins such as “JWT Authentication for WP REST API” which ensures that your information is only accessed by the true owners. They function as sentinels who promote the smooth and safe transfer of data.
After your WordPress site is prepared, it’s about to start on the Flutter development.
Step 2: Setting Up Your Flutter Development Environment
At this point, it is time for you to set up a Flutter development environment.
Download the Flutter SDK
First, download the Flutter SDK from the Flutter website that matches your operating system. Whether you’re using Windows, macOS, or Linux, Flutter provides you with everything you need.
System PATH Update:
Add the flutter/bin directory to the system path after removing the downloaded files. This will make it easy for you to run flutter commands in the command line interface of your computer making it easier for you to code.
Make your IDE selection:
Select an Integrated Development Environment that you prefer. For example, there is an Android Studio which is mostly all-in-one. On the contrary, Visual Studio Code creates a lighter and more adaptable environment to work in, along with useful Flutter plug-ins assistance for both Flutter and Dart.
Step 3: Combining WordPress with Flutter

We mix the two platforms by combining WordPress content into a Flutter application. This is akin to assembling a jigsaw puzzle where every piece denotes a portion of your WordPress content.
Fetch Data with WP REST API:
Wield the WP REST API to get posts, pages, and media from your WordPress site; they will form the basis for displaying content in your app.
Display Content in Flutter
Flutter Widgets should be used to display this content. For instance, ListView can be used to indicate previous postings while Image. network can show off images from your site. This will help ensure that all of the rich content on the website shows up in the application.
After collecting all of the content, your application is going to show the vibrant and animated traits of your WordPress website.
Step 4: Enhancing User Engagement
The making of your application is taking place but now let us focus on making it unique by adding some special features. This is similar to how one would decorate a room in such a way that it becomes comfortable and pleasant for its users.
Improving Navigation:
Make use of amplifying Flutter’s navigator and material page route to lead you through smooth navigation systems throughout your application.
Consequently enabling users to glide through various sections hence improving their experience at large
Enable Offline Functionality:
With flutter_offline, you can implement offline features. Allowing users even when they are not connected to the internet to access your content makes your app more reliable and user-friendly.
Integrate Push Notifications:
Utilizing firebase_messaging will keep users engaged by real-time updates. It sends notifications about new materials added or significant changes that keep your users aware of everything.
Moreover, these improvements will make the application functional and at the same time entertaining for its users as well. For further enhancing your app with AI, you might find this guide on AI in mobile apps useful.
Step 5: Testing, Debugging, and Launching – Final Steps
Your app is almost ready for release, but the most essential thing is that all parts should function without any problem.
Cross-Platform Testing:
To make sure that your application works on both iOS and Android devices, it must undergo testing. Use both emulators and actual devices to check if they have different options and operating system versions.
Conduct Integration Testing:
Verify that your app interacts correctly with your WordPress site. Make sure that all functions are operational and the content is displayed correctly.
Run Beta Testing:
Release a beta version to a select group of users to gather feedback. This will help you locate any issues and fix them before the official launch. Once testing is complete and you’re confident in your app’s performance, it’s time to launch:
Submit to App Stores:
Upload your app to the Google Play Store and Apple App Store. Follow their submission guidelines to ensure a smooth and successful launch. For insights on making your app more intelligent, you might find this guide on AI in programming helpful.
Conclusion:
Using the Flutter App for Any WordPress Site will enhance the performance and interaction with users. Some of these include; responsive design, attractive design and the ability to be customized.
This blog summed up all the steps essential to creating a Flutter app for your WordPress website. The following tips can be used to create an elegant and unique WordPress mobile app for your site.